User Tools
Holiday Ornaments
For the 2011 Holiday Make-A-Thon we decided to use the CNC Router to cut ornaments out of 1/8“ Luan playwood. We'd then have people paint or otherwise decorate them, and take them home to give as gifts or keep for themselves.
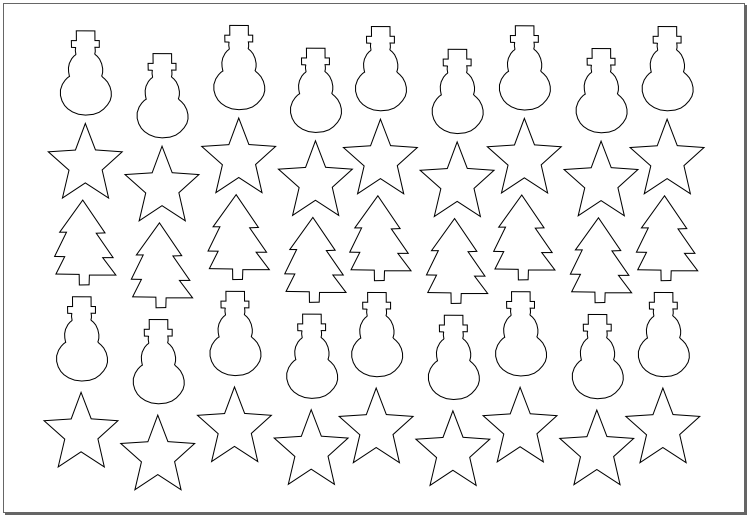
Pete started out using Inkscape to create an SVG file the same size as the sheet of plywood. The file was then exported as a DXF file. (Note that if you make your artwork the same size as the material you are cutting, leave a border around it so you can bolt the piece to the machine and have clearance for the cutting bit to not hit the bolts.)
 (Yes, I could have more tightly packed the pieces, or arranged them better, but it was a bit of a rush job.)
Once we had a DXF file, Brant brought that into CamBam to set up all the parameters to generate the G-code.
We also added holes to be drilled into the top of each ornament. (In retrospect, it probably would have been better/faster to just do all the holes on the drill press, but we love to try new things, right!?)
We added tabs as well, so the pieces wouldn't come loose and get in the way when cutting. This should probably be done for any job where a small piece could come out. If it gets in the way of the bit, it could cause some damage.
The next part is where we screwed up. Always, always, always measure what you are cutting. I said we used 1/8” playwood but you really need to put the digital calipers onto the material and get an accurate measurement. (Ron usually has his calipers in the wooden toolbox located between the CNC Router and Laser Cutter. Measure it. Measure it again. Get it right.
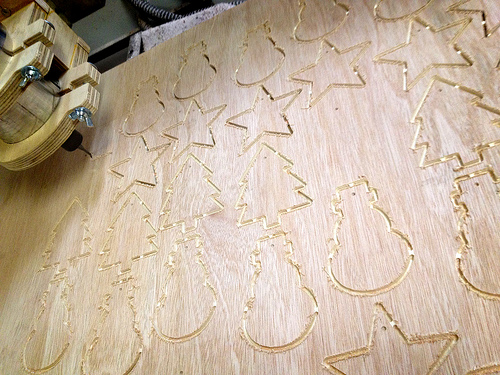
Anyway, we generated the G-code from CamBam, we loaded that into Mach3 on the computer that controls the CNC Router, and ran the job.

Since we screwed up the cutting depth measurement, the first attempt didn't cut all the way through for all the ornaments. We had planned to edit the settings and run the job again while the wood was still on the work surface, but we broke the bit, and it was after 10pm, and there was no chance of getting a replacement. So we punted and took it off and had to Dremel them out, and that was not fun.
Shane spent some time sanding the good ornaments and making them look finished and ready for painting, and Pete ended up using the drill press anyway to drill all the hanging holes.
So despite some set-backs, the project turned out well, but with a little more practice, things like this should be super easy. (Consider this a start of a documentation project.)
Here's a video of cutting the ornaments.
Project Members
- Jason H.

